Monday, August 9, 2010

Ground Pod Modifications

In my DIY Ground Pod Post I posted some ideas I had for a DIY Ground Pod. I've had a chance to do some more experimenting and here's the results from the first round of experiments....


Inverted Frying Pan
Click Image to View Larger
This new configuration works much better but I'll tell you it was a pain to saw that damn handle off of the pan!

Nut and Bolt on Bottom Side of Pan
Click Image to View Larger
By inverting the pan there's no longer a problem with the nut and bolt extending from the base and getting snagged on something.

No More Handle and Lid for Base
Click Image to View Larger
I had considered gluing the pan to the bucket lid since I can't use it now but I think I'm going to hold off on doing that for now. If I do glue it then I'll still need to leave some sort of opening so that I can get to the bolt to be able to loosen the ballhead from it. If you'll look closely you'll see that after getting 3/4 of the way through the handle I got tired of sawing and just bent it back and forth until it broke :).

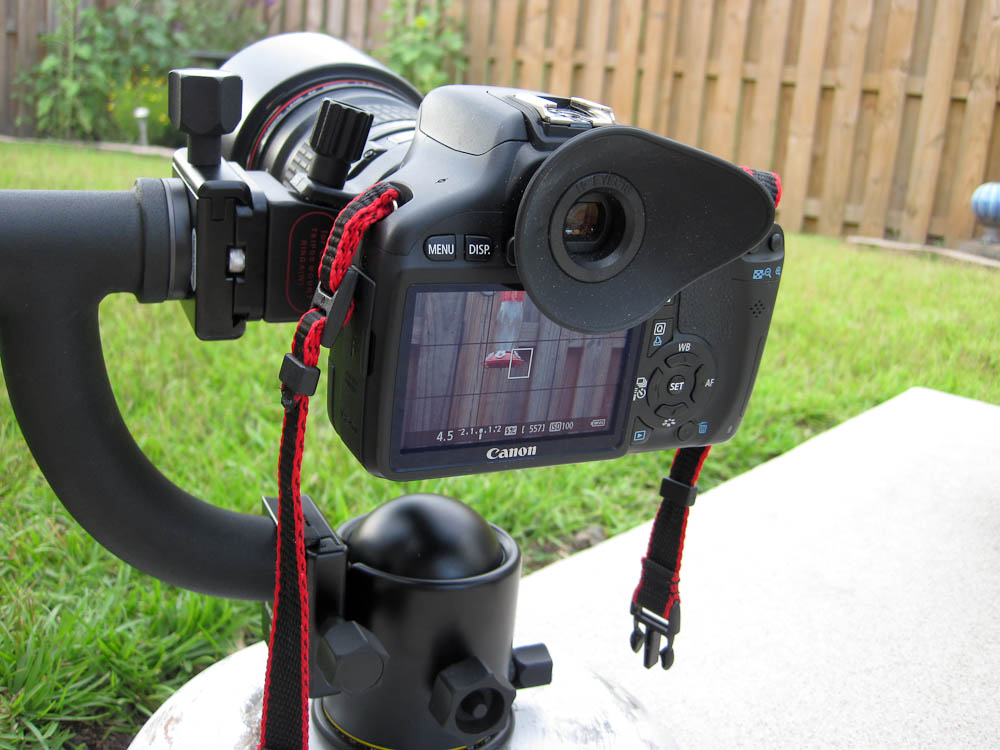
In Use With Liveview
Click Image to View Larger
This setup works pretty well. Of course I think most setups would when you're shooting from a nice smooth concrete pad :). I will try and do some field testing this week or this coming weekend.

Know Your Knobs!
Click Image to View Larger
I did learn something today and that's to make sure you know your knobs. See how the two knobs are close together in the picture above? Well twice I loosened the knob for the lens plate when I meant to loosen the knob for the lens so I could rotate it. Next time I'll position the knob for the lens plate towards the bottom so there's only one knob on top. Don't make this mistake!

No comments:

Post a Comment