Showing posts with label OM-D. Show all posts

Sunday, July 29, 2012

Road Trip Pictures

Some pictures from the road. In many cases I've uploaded the normal aspect and square aspect versions so you can see the differences. Although the images may look the same in the post they aren't. Click one to view larger and then you can see them all in the proper format.


Some berries. Anyone know what kind they are? This one is in the square format.


Berries in the normal format.


Fedex Truck in square format. I've never seen one with 3 trailers before.


FedEx truck in normal format.


Dig that chain link steering wheel.


Flower in square format.


Flower in normal format.


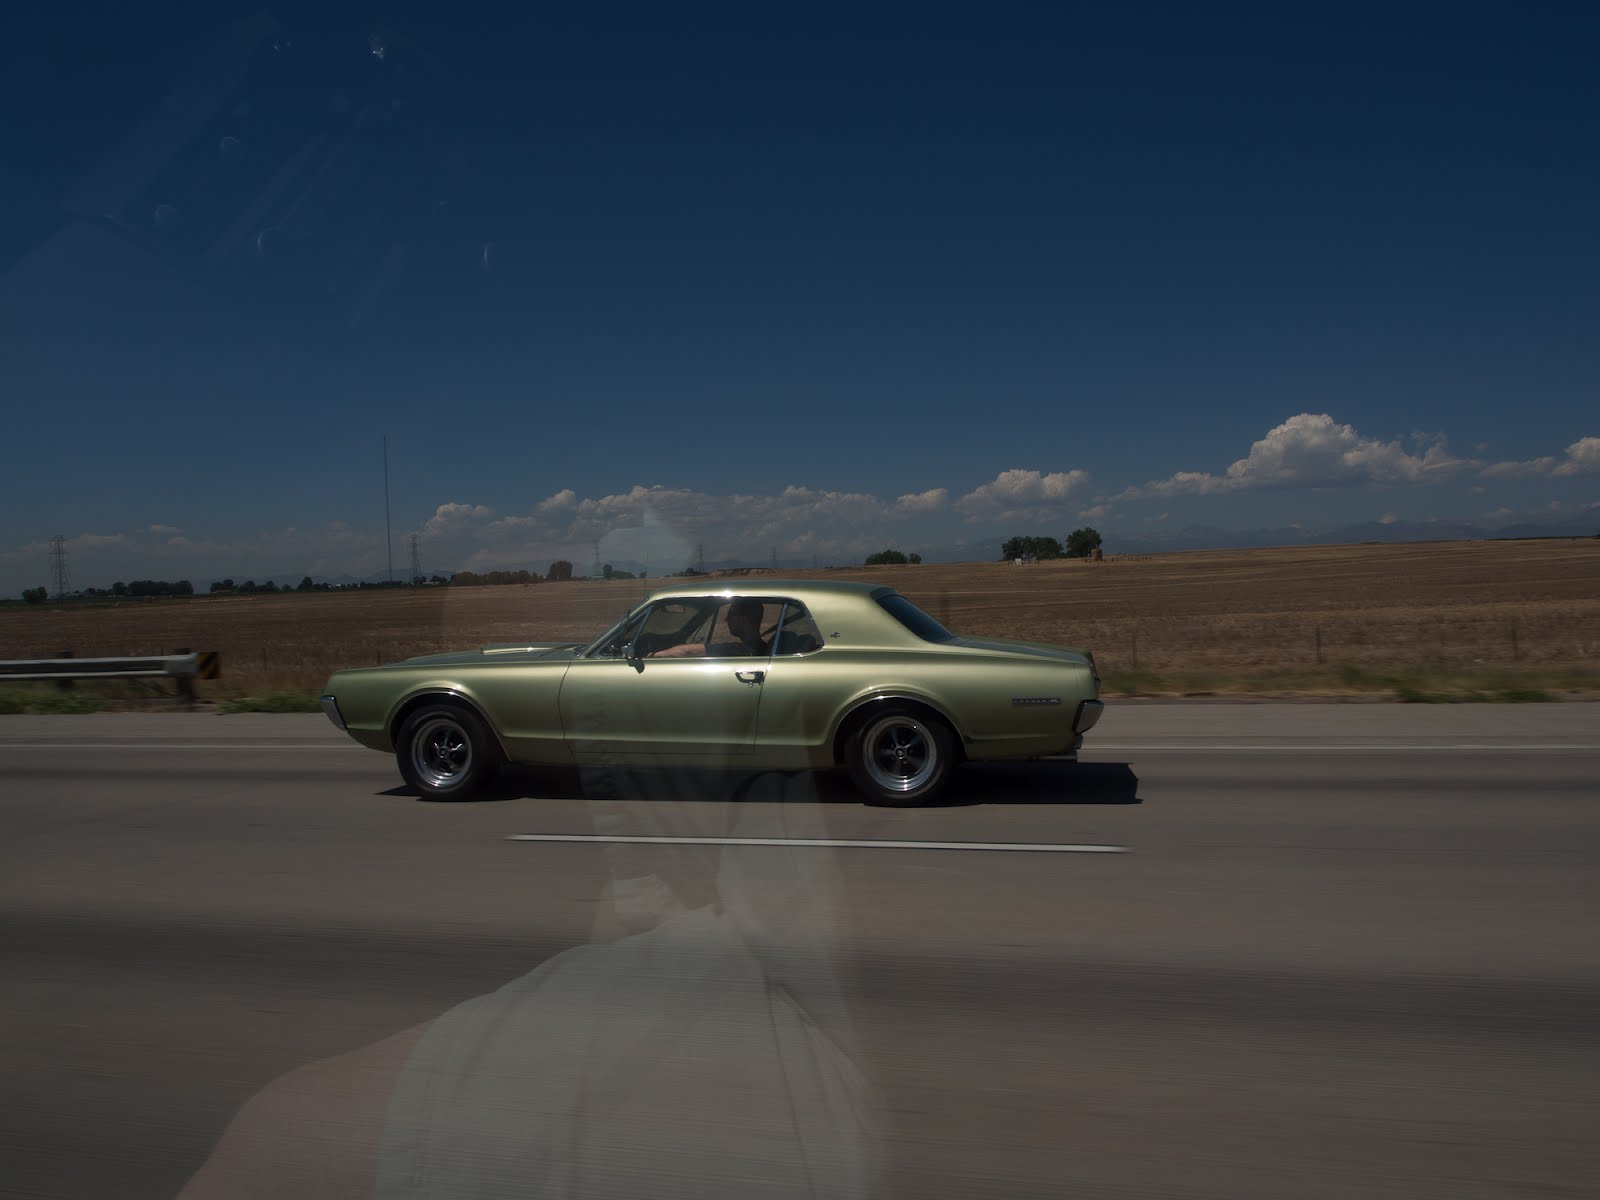
Old Cougar but notice the reflection :(.


Mountains in square format.


Mountains in normal format.


Road sign in square format. Notice the upper left hand corner and then look at next image.


Road sign in normal format. Notice how you can see part of the windshield.


Terry at a really cool statue. This statue sits suspended in water and you can actually rotate it.


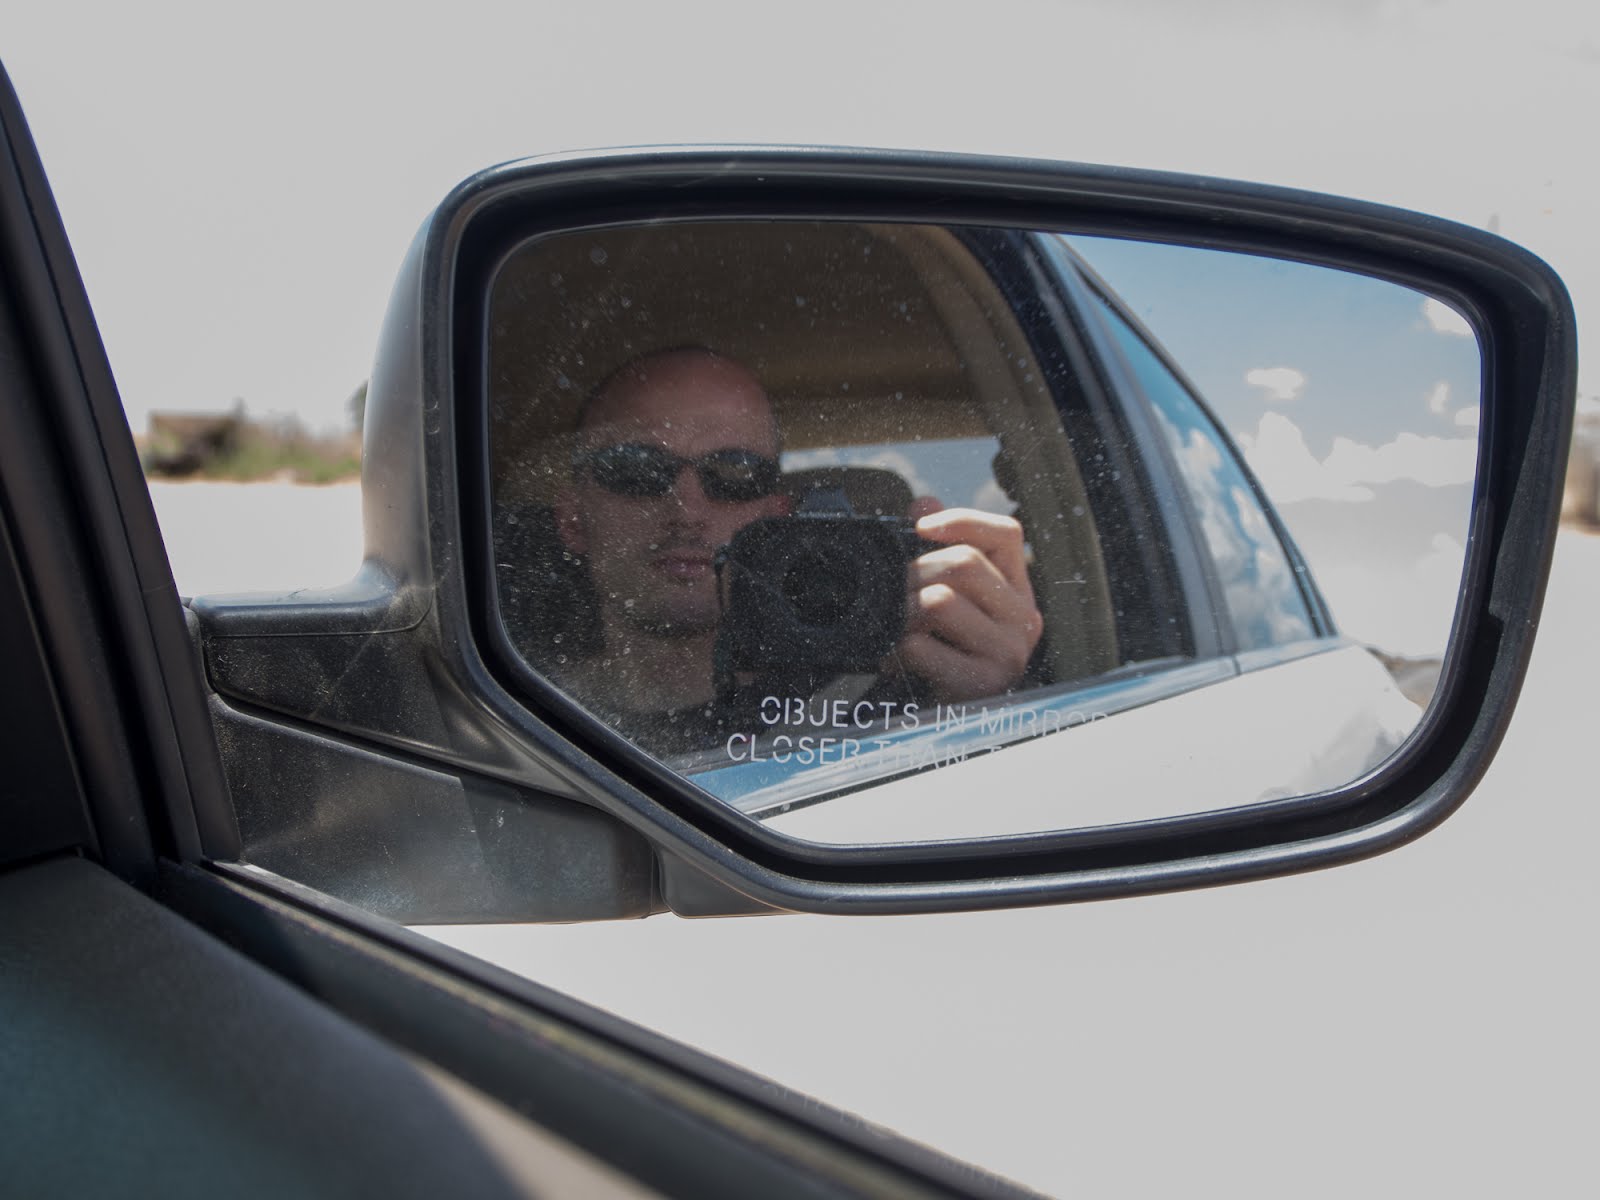
Terry making a self portrait using the side mirror.

Thursday, July 12, 2012

Northern Mockingbird

This shot was taken with my E-M5 and my old Canon EF-400 f/5.6L lens. The photographer that bought my old lens let me borrow it for a short while to do some testing with it. My keeper rate was VERY low, unfortunately. It was very difficult to see if the birds were in focus or not. More often than not they were out of focus. You can click on the image to view a larger version of it.

Tuesday, July 10, 2012

Expose to the Right or Expose to the Left. Does it matter?

I'll admit that when it comes to post processing of images that I'm pretty lazy. My typical work flow is to import the images into Lightroom, assign keywords, and then go through them and click on the auto button to automatically adjust the settings to what Lightroom things are the correct settings. Sometimes I like the results and sometimes I don't. I may get fancy and try a preset but that's really just applying someone elses settings to your images. I know if I wanted to get the best possible image I should spend more time learning Lightroom and how to make adjustments but in all honesty I'd much rather be outside shooting pictures instead of inside post processing them. Okay so what does that have to do with the this post you may be wondering? Well something that has been discussed a good bit is just how well Lightroom can process the RAW images from the Olympus OM-D E-M5 camera. I have also read about exposing to the right (ETTR). In a nutshell, as I understand it, with ETTR you want to intentionally overexpose the image but not to a point where things get blown out. With that in mind I decided to conduct a little test. This is the first part of a multiple part series I'll be working on over the next few days.

Presented below are a series of screen captures from Lightroom showing the before and after edits. The before image is how the image looking in Lightroom straight out of the camera (SOOC) and the after image shows how it looks after clicking the Auto button in Lightroom. All images were shot with the same aperture and I intentionally set exposure compensation as follows: +3, +2.7, +2.3, +2, +1.7, +1.3, +1, +.7, +.3, +0, -.3, -.7, -1, -1.3, -1.7, -2, -2.3, -2.7, -3. All shots where taken handheld using the 40-150 lens at 150mm, ISO 200. You can click on any image to view a larger version of it.


+3 Notice the shutter speed. 1/30th of a second hand held! Gotta love that E-M5 IBIS.


+2.7


+2.3


+2


+1.7


+1.3


+1


+.7


+.3


+0 Before. This shot shows the image with +0 exposure compensation and before clicking the auto button in Lightroom.


+0 After. This is how the shot looks after clicking auto in Lightroom. Notice how it boasted the exposure even though the camera's meter indicated the image was exposed properly.


-.3


-.7


-1


-1.3


-1.7


-2


-2.3


-2.7


-3

Conclusion
Just going by these images it appears Lightroom does a pretty darn good job adjusting the image reardless if you over, under, or properly expose the image. While the images may look good in this view we need to do some pixel peeping to see how things really look, noise wise with the images. That's the topic for the next post in this series.

Thursday, July 5, 2012

Olympus M.Zuiko Digital ED 40-150mm f4.0-5.6 R

When we bought our second E-M5 kit we also bought the Olympus M.Zuiko Digital ED 40-150mm f4.0-5.6 R so that we would have a moderate range zoom until we can get the 75-300 zoom and the price was right so we couldn't pass up on the deal. You can click on each image to view a larger version of it.


Field of view at 40mm.


Barrel extension at 40mm.


Field of view at 50mm.


Barrel extension at 50mm.


Field of view at 70mm.


Barrel extension at 70mm.


Field of view at 100mm.


Barrel extension at 100mm.


Field of view at 150mm.


Barrel extension at 150mm.


A shot that's a bit more interesting than the fence :). This was taken on our Pennsylvania trip as well. Exposure was 1/250th at f/5.6, ISO 250, focal length of 150mm. The image was cropped during post processing.

Tuesday, July 3, 2012

Olympus M.Zuiko Digital ED 12-50mm F3.5-6.3 EZ

The Olympus M.Zuiko Digital ED 12-50mm F3.5-6.3 EZ is the kit lens that came on the second E-M5 body we bought. In this series of shots we do not have any macro shots. I'll publish those in a separate post. One thing that is a blessing and a curse is this lens does not have any predefined zoom markers on it so I through trial and error I was able to come up with various focal lengths to test with. You can click on each photo to view a larger version of it.


Here's the lens setup on the tripod.


Field of view at 12mm.


Field of view at 14mm.


Field of view at 20mm.


Field of view at 25mm.


Field of view at 30mm.


Field of view at 40mm.


Field of view at 45mm.


Field of view at 50mm.

A shot taken on our trip to Pennsylvania. Taken in the Ricketts Glen State Park. Exposure was 1/4 second at f/7.1, ISO 200, 50mm focal length.